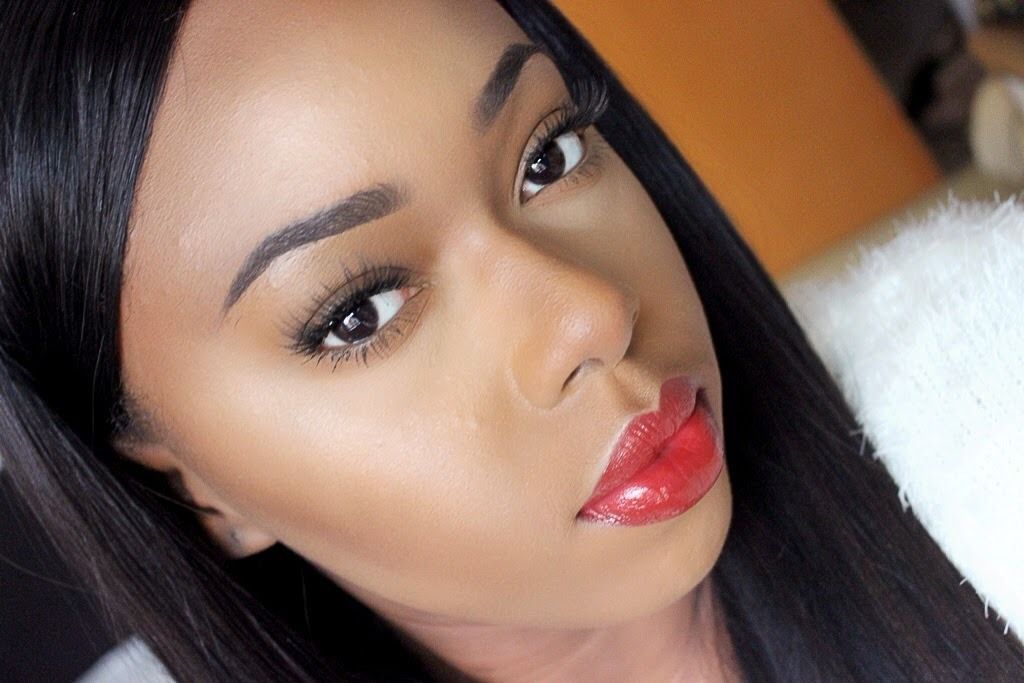
I had actually been planning on doing a post like this before I disappeared from here but clearly I never got around to doing it. Now that it's been requested, I had no excuse.
I know showing you pictures of products and trying to describe how I perfect my base through text is not the easiest way for someone to understand but I've tried to break it down into steps so it's somewhat clearer to you all.
If I've failed in trying to explain myself and there's something you want more clarity on, drop a comment below or send me an email :)
P R O D U C T S
1 - Sigma F80 Flat Top Kabuki Brush
2 - AOFM Pro Application Brush
3 - Zoeva 225 Eye Blender Brush
4 - Beauty Blender Pro Black
5 - MAC Luxury Powder Puff
10 - Mary Kay Creme-to-Powder
11 - Ben Nye Banana Powder
12 - KIKO MAT Base Corrector Primer
S T E P 1: Prepping and evening out my skin
Once my face has been cleansed and moisturised, I apply my primer to my t-zone using my fingers in a quick dabbing motion. I then begin filling my brows whilst the primer sets. When my brows are in place, I continue working on my base by applying foundation to give me an even canvas. My foundation is dotted around my face then stippled using a flat top kabuki brush. I never apply my foundation by dragging the brush across my face as I like a good coverage and stippling your foundation creates this. The foundation is stippled throughout the whole application process.
S T E P 2: Highlighting
Once I've created an even base to work with, my next step is to highlight areas of my face to create a "glow". These areas include my under-eye, forehead, chin and the bridge of my nose. Although I forgot to photograph it, my highlighting concealer is applied to my under-eye area in an inverted triangle shape with the Real Techniques 'Pointed Foundation Brush'. The concealer is then applied to my chin, forehead and nose bridge. I use a dampened (with water) Beauty Blender to blend the concealer under eye, my chin and forehead. The concealer applied to my nose is blended with my small blending brush for precision. If I feel like the application on my nose is streaky due to the brush hairs, I pinch my beauty blender (pointed end facing upward) and use for further blending.
All highlighted areas are set with the banana powder using the luxury powder puff.
S T E P 3: Contouring
Using the AOFM brush, I apply the cream based foundation (which is quite a few shades darker than my skin tone) to the hollows of my cheeks to give my face definition. Directly underneath, using the Real Techniques Pointed Foundation Brush, I apply my highlighting concealer to create a contrast which emphasises my contoured cheeks. Both are then blended using my dampened Beauty Blender. The lighter areas beneath the hollows of my cheeks are set with banana powder.
I don't contour my nose because the highlighting concealer on the bridge of my nose already creates the illusion that my nose is contoured.
S T E P 4: Setting your face
At this point, I will dust all excess powder off using a fan brush (not pictured). The final step to perfecting my base is to set my entire face (using less product on my highlighted under-eye and forehead areas) with MAC MSF Natural powders using another MAC powder puff. I use two different shades which are used in different areas of my face as I feel this gives me a better colour match overall.
So there it is! These are my steps to perfecting my base. Following these steps, I then apply bronzer to my temples, set the hollows of my cheeks with either a bronzer or contouring powder and then whatever else including blush, highlighting powders, etc follow.


14 comments